How to combine multiple LUTs in Photoshop
Add each LUT as its own Color Lookup adjustment layer, then use that layer’s opacity to set how strongly it contributes. Photoshop applies the stack from the bottom up, so order changes the result. This works natively and non-destructively — the slow part is that you must load every LUT by filename, one at a time, with no preview.
What you need
- Photoshop, with an image open.
- Two or more LUT files. Photoshop reads .cube, .3dl, .csp and .look.
- Nothing else. Color Lookup is a built-in adjustment layer.
The manual method, step by step
This is the native Photoshop approach. It is worth knowing even if you later use a plugin, because it explains what any LUT tool is actually doing underneath.
- Open your image. Keep it as the bottom layer of the stack.
- Choose Layer → New Adjustment Layer → Color Lookup, then click OK.
- In the Properties panel, open the 3DLUT File dropdown and choose Load 3D LUT…
- Select your LUT file. The grade applies to everything below it immediately.
- Lower that layer’s Opacity in the Layers panel to reduce its strength. 100% is the LUT at full force.
- Repeat steps 2–5 for each additional LUT you want in the blend.
- Drag layers up and down to change the order, and watch how the combination shifts.
Why order and opacity both matter
A LUT does not grade your original image. It grades whatever is beneath it. The second LUT in a stack receives the output of the first one as its input, which means swapping two layers produces a genuinely different result — this is not a subtle difference you can ignore.
Opacity blends that layer’s output back toward what sits underneath it. At 30%, you are seeing roughly a third of the LUT’s effect mixed with two-thirds of the image below. Low opacities are where stacking gets interesting: three LUTs at 20% each will usually look far better than one at 60%.
Where the manual method gets slow
The technique above is sound. The workflow around it is what breaks down once your library grows.
- Photoshop lists LUTs by filename. There are no thumbnails and no visual browser.
- You can only load one LUT at a time, through a file dialog.
- To compare two candidates in slot three, you reload the file, judge it, then reload the other.
- Trying a genuinely different combination means repeating that loop for every slot.
With twenty LUTs this is tolerable. With two thousand, most people give up and reuse the same handful they already remember the names of.
How LUTweave changes the loop
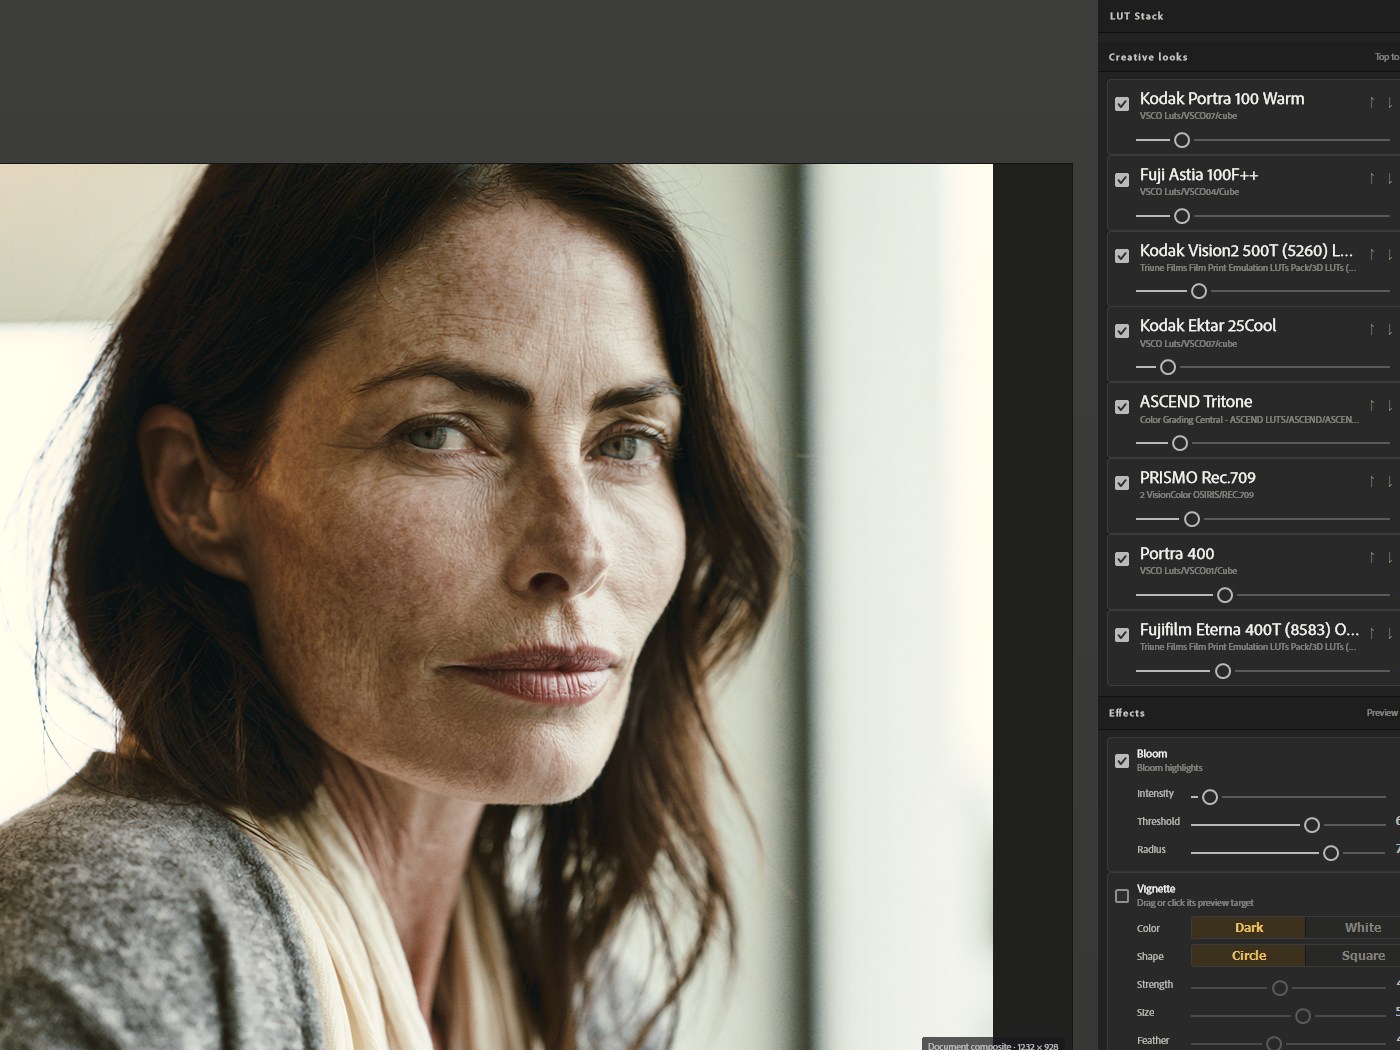
LUTweave keeps the same underlying idea — several LUTs, each at its own strength — but removes the reload cycle. You browse the library visually, drop up to eight LUTs into slots, and move each slot’s strength slider while the combined result updates on your image.
The Free version gives you two slots and the full browsing, preview and Apply workflow, which is enough to test whether the approach suits how you work.
Limitations worth knowing
- Stacked LUTs compound. Contrast and saturation build up quickly, and highlights can clip before you notice.
- Check the extremes. Look at your brightest highlight and deepest shadow after every change, not just the midtones.
- Conversion LUTs are not creative looks. A log-to-Rec.709 transform applied on top of an already-corrected image will not do what you want.
- Heavy grades on 8-bit images can band. Work in 16-bit where it matters.