How to export a .cube LUT from Photoshop
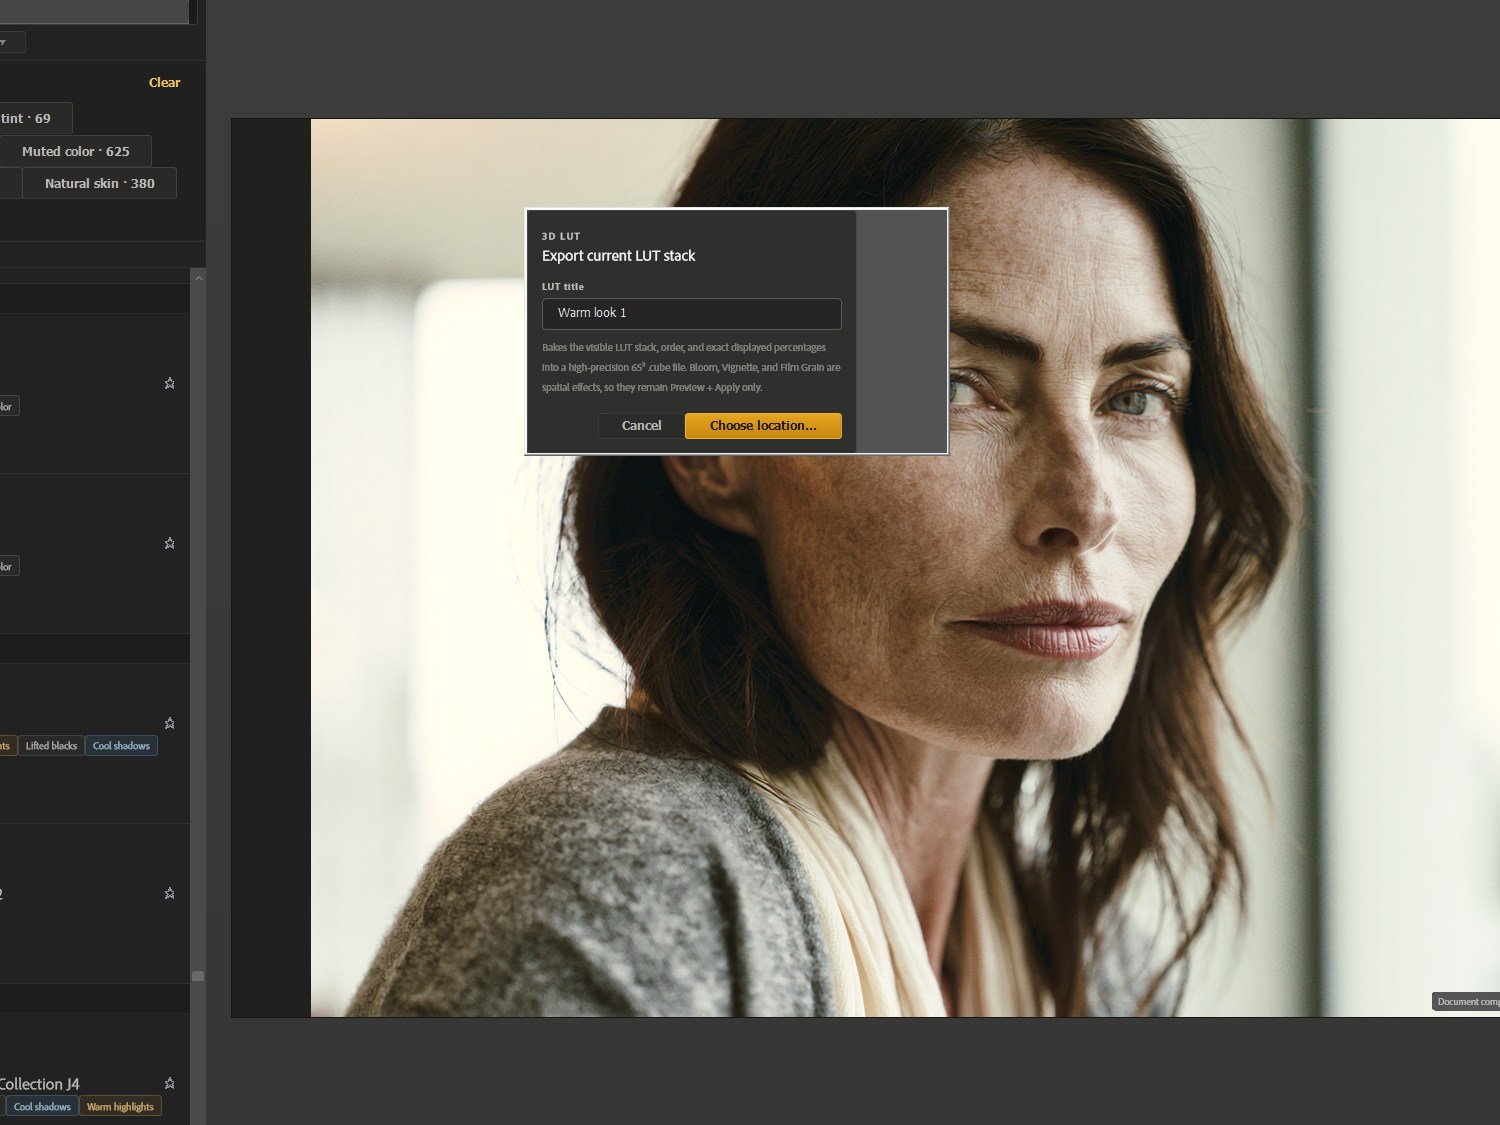
Use File → Export → Color Lookup Tables. Photoshop converts the adjustment layers sitting above your background into a LUT file. Choose the CUBE format and a grid size, then save. Only colour adjustments can be encoded: spatial effects such as grain, bloom and vignette cannot be represented in a LUT and will be silently left out.
What Photoshop actually exports
The export takes the adjustment layers above your background layer and works out the single colour transformation they add up to. It then writes that transformation as a lookup table.
It does not export your image, and it does not export pixel layers, masks, or anything that varies across the frame. If an effect depends on where a pixel is, or on its neighbours, it cannot survive the trip.
The steps
- Build your grade using adjustment layers — Curves, Hue/Saturation, Color Balance, Color Lookup and so on — above the background layer.
- Make sure the image is on a layer named Background. The export needs it.
- Choose File → Export → Color Lookup Tables…
- Fill in Description and Copyright if you plan to share the file. These are written into the LUT.
- Set Quality, which controls the grid size. 32 is a reasonable default.
- Tick CUBE under Format. You can tick several formats to write them all at once.
- Click OK and choose where to save.
Choosing a grid size
A 3D LUT samples colour space on an evenly spaced grid and interpolates between the sampled points. More points means a more faithful transformation and a larger file.
- 17 points — 4,913 entries. Small and fast. Fine for gentle grades, prone to visible steps on aggressive ones.
- 32 or 33 points — around 33,000 entries. The usual working choice, and what most applications expect.
- 64 points — 262,144 entries. Highest fidelity, noticeably larger files, rarely necessary.
If your grade contains steep curves or hard saturation changes, a low grid size is where banding appears. Move up to 33 or 64 before assuming the export is broken.
What a LUT cannot contain
This is the part that catches people out, so it is worth being precise. A 3D LUT is a pure colour mapping: it takes one RGB value in and gives one RGB value out. It knows nothing about where that pixel sits in the frame, and nothing about the pixels around it.
That single fact rules out an entire category of effects:
- Film grain is random noise generated per pixel. A lookup table is deterministic — the same input colour must always produce the same output colour — so grain cannot be encoded.
- Bloom reads the surrounding pixels to spread light out of highlights. A LUT cannot see neighbouring pixels.
- Vignette depends on distance from the centre of the frame. A LUT has no concept of position.
- Anything masked, feathered, or applied to part of the image is spatial by definition and will not export.
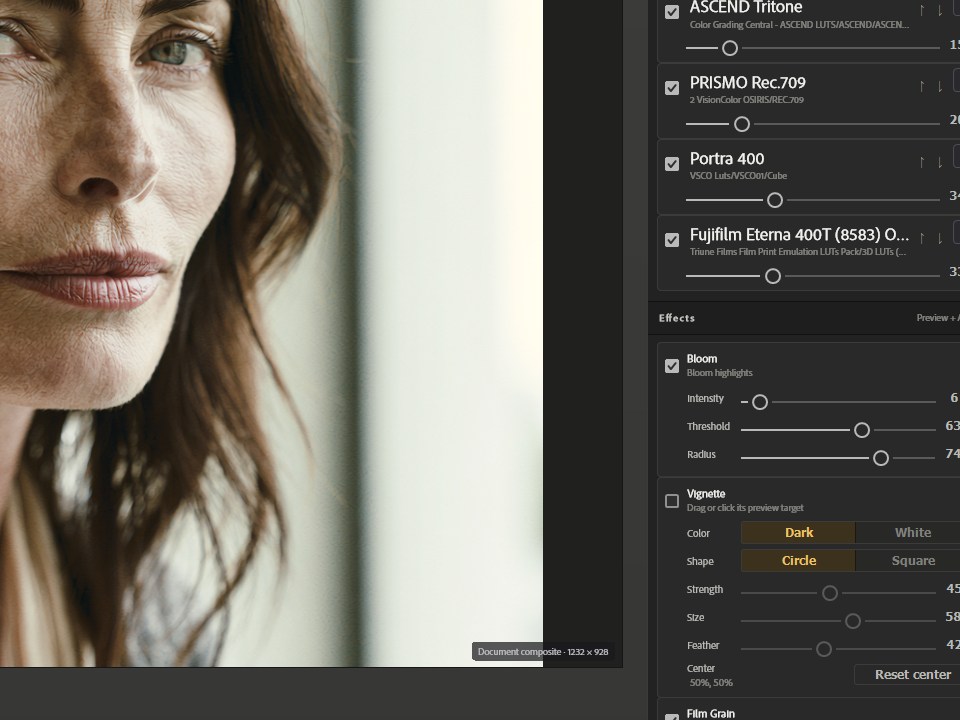
This is not a Photoshop limitation or a LUTweave limitation. It is what the format is. In LUTweave the same rule applies: the LUT stack and its colour adjustments export cleanly, while Bloom, Vignette and Film Grain stay behind in Photoshop where they belong.
Common problems
- The menu item is greyed out — there is usually no layer named Background, or no adjustment layers above it.
- The exported look is flatter than the screen — you probably had spatial effects in the stack. See above.
- Banding in the result — raise the grid size, and check whether you are exporting an unusually aggressive grade.
- It looks wrong in another application — confirm what colour space that application expects. A LUT built for corrected footage will not behave on log footage.